TL;DR
- HRIS-triggered provisioning cuts account setup time from days to minutes and reduces manual errors by 90%.
- Zero-touch deployment means devices arrive pre-imaged and configured; employees boot up and authenticate instead of waiting for IT to set them up.
- Integration workflows between identity management, cloud applications, and security tools eliminate manual account creation in Slack, GitHub, Jira, and other platforms.
- Automated onboarding success metrics help you identify bottlenecks and prove ROI to executives.
- Start with email and SSO automation. Expand to cloud app provisioning and device deployment once you’ve solved the basics.
- Measurement matters: track time-to-productivity, support ticket volume, and compliance completion rates to justify continued investment.
Why Manual Onboarding Doesn’t Scale
Let’s say you hire five people a month. That sounds manageable until you do the math on IT’s workload.
Each new employee needs email provisioned, identity created, SSO configured, cloud applications access set up (Slack, GitHub, Jira, whatever stack you use), device imaged and deployed, security policies enforced, and compliance training assigned. Without automation, that’s probably 90 minutes of manual work per person. For five people, that’s 7.5 hours per month. Scale to 50 people a month and you’re at 75 hours, plus the inevitable mistakes and rework.
Manual processes also introduce inconsistency. One person forgets to enable MFA on a new account. Another creates the wrong email distribution group. A third doesn’t configure VPN access until day two. These aren’t catastrophic issues individually, but they compound into operational friction and security risk.
Automation solves this. Not eventually, not after a massive project. Sensibly, starting with high-impact workflows that reduce manual toil and then expanding outward.
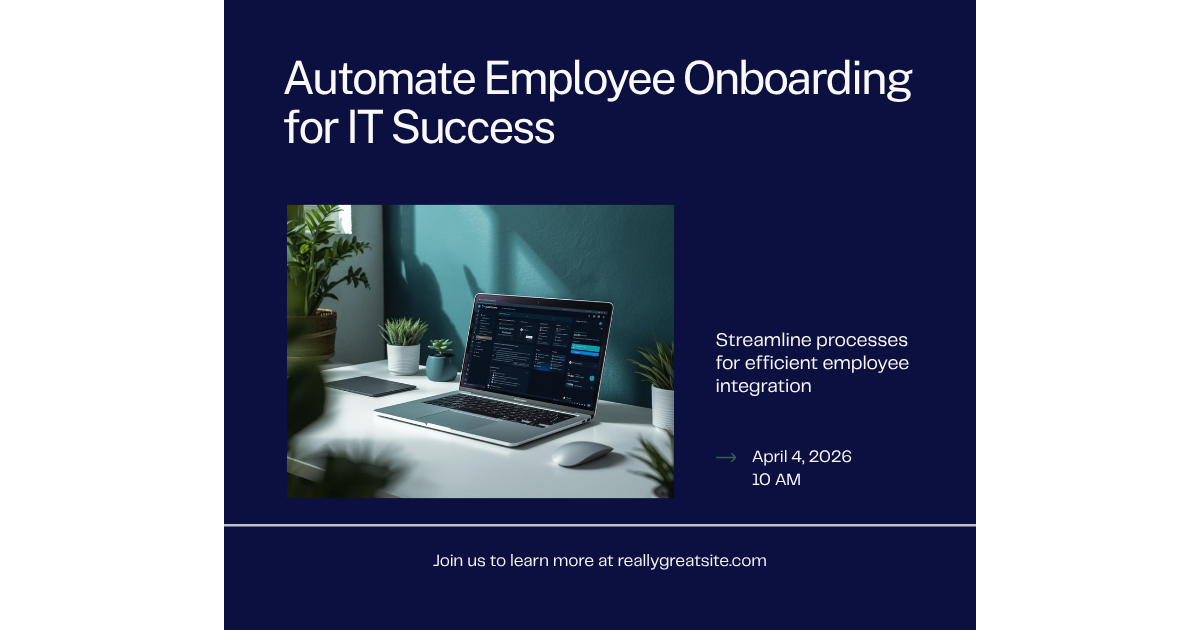
The Foundation: HRIS Integration and Triggered Provisioning
Your HRIS (HCM system like Workday, BambooHR, Gusto, etc.) is the source of truth for new hires. When HR marks someone as “active” or “ready to onboard,” that event should trigger everything else.
The integration works like this: new employee record created in HRIS, fields populated with start date, department, manager, role, location. That data feeds into your identity provider (Okta, Azure AD, etc.). An API call pushes the new identity into your system, account creation starts, and a series of provisioning workflows execute automatically.
This requires two things: technical setup and governance decisions.
Technical setup is straightforward. Most modern HRIS platforms have pre-built connectors to identity providers. If yours doesn’t, you can build a custom integration using the HRIS API and your identity provider’s API. Zapier or Make can handle light integrations if you don’t want to manage custom code.
Governance is harder and more important. You need to decide: what data fields does the HRIS send? How is role information structured? What happens if someone’s start date gets changed? What happens if they’re deleted from the HRIS before their actual start date (happens more than you’d think). Who approves exceptions to the automated process?
Get this wrong and automation creates chaos. Get it right and it’s rock-solid.
Start by mapping your HRIS data to your identity provider’s required fields. Email address, first name, last name, department, manager, job title, location, start date. Define which fields are mandatory and what the fallback is if they’re missing. Run the integration in test mode first, creating test users and validating that data comes through correctly.
Zero-Touch Device Deployment and Imaging
Device onboarding is where remote teams typically lose the most time and create security gaps.
The old way: IT receives the device, spends two hours configuring it (OS updates, security tools, company policies, etc.), ships it to the employee. Employee arrives, needs 30 minutes to set up their environment. If something wasn’t configured, IT troubleshoots remotely.
The zero-touch way: device is ordered, automatically enrolled in a Mobile Device Management (MDM) or device management solution during manufacture or immediately after. When it arrives at the employee’s location, they turn it on, connect to WiFi, and authenticate with SSO. The MDM system automatically applies policies, installs required software, configures settings. Device is ready to work within 15 minutes of first boot.
This isn’t hypothetical. It’s a standard feature of modern device management platforms (Intune for Windows, Apple Business Essentials for Mac, etc.).
To enable zero-touch deployment:
1. Enroll your device manufacturer account in zero-touch manufacturing (most enterprise laptop vendors support this). Pre-configure device images in your MDM solution.
2. When you order a device, that order feeds into zero-touch enrollment. Device serial numbers are registered in your MDM system before they even ship.
3. Employee receives device, turns it on. Instead of a setup wizard, they see your company login screen. They authenticate with SSO credentials (created earlier via HRIS integration). MDM automatically applies policies.
4. Required software installs in the background while they work. VPN, encryption, endpoint security, collaboration tools, all handled automatically.
The time savings are real. Employees go from “waiting for IT to set up my device” to “working within 10 minutes.” Your IT team goes from spending 2 hours per device to spending 5 minutes validating enrollment.
The security benefit is also real. You’re not relying on IT to remember to enable encryption or install security tools. Every device enforces the same standard configuration, automatically.
Automated Account Creation in Cloud Applications
Beyond email and identity, new employees need access to your entire application stack. Slack, GitHub, Jira, Salesforce, whatever you use. Manual account creation in each platform is a massive coordination problem.
Solution: use your identity provider’s application provisioning capabilities (also called System for Cross-domain Identity Management, or SCIM).
Here’s how it works: your identity provider (Okta, Azure AD, etc.) connects to cloud applications via SCIM. When you add a new user to your identity provider, that user is automatically created in any connected application. When you assign them to a group (e.g., “Engineering” group), they automatically get the right permissions in GitHub. When you mark them as inactive, they’re deprovisioned from all applications.
This requires the application to support SCIM (most modern SaaS tools do, some don’t). If it doesn’t, there are alternatives like SAML or pre-built connectors in iPaaS platforms.
The workflow looks like this:
1. Employee added to identity provider and assigned to role-based groups (Engineering, Sales, etc.).
2. Identity provider automatically creates accounts in Slack, GitHub, Jira, etc., based on group membership.
3. Permissions are automatically applied based on group rules (engineers get specific GitHub repos, sales get Salesforce access, etc.).
4. When the employee moves to a different role or department, group changes are made in the identity provider. SCIM-connected applications automatically update their access.
No manual “add this person to Slack” requests. No forgotten GitHub permissions. No security gaps from someone who left a group but kept permissions in some systems.
Depending on the complexity of your application architecture, this can take weeks to implement correctly. Start with your most critical tools (Slack, GitHub, or whatever 3-4 tools every new hire needs). Expand from there.
Integration Workflows: Connecting the Pieces
Once you have HRIS integration, device deployment, and cloud app provisioning in place, the magic is connecting them into a cohesive workflow.
The ideal state: new employee appears in HRIS, and without any human intervention, within 30 minutes:
- Identity is created in your IdP
- Email account is provisioned
- Device enrollment is triggered
- Cloud application accounts are created
- Role-based permissions are applied
- Compliance training is assigned
- Manager is notified that their new hire is ready
In reality, you probably won’t achieve full automation on day one. Most companies automate 60-70% of the process and manually handle the remaining 30% (exceptions, special requirements, etc.).
The architecture for this typically involves:
Event-driven triggers: HRIS sends a webhook when someone is marked “active.” That event triggers the provisioning workflow.
Orchestration platform: A workflow engine (could be Zapier, Make, a custom Lambda function, or your IdP’s built-in workflows) receives the trigger and executes steps sequentially.
API integrations: Each step calls the appropriate API to create an account, assign permissions, enroll a device, etc.
Error handling: If a step fails (e.g., email already exists), the workflow pauses, logs the error, and notifies someone to handle the exception manually.
Validation: After all steps complete, the workflow runs checks to verify everything was configured correctly (e.g., test login, verify permissions, confirm device enrollment).
If this sounds complex, it can be. But it’s also a solved problem. Cloud platforms like Okta, Azure AD, and JumpCloud all have built-in provisioning and workflow capabilities. If you use one of these, you can build orchestration without writing a single line of code.
Measuring Onboarding Success and Automation ROI
You can’t improve what you don’t measure. Define clear metrics for your onboarding process before and after automation.
Time to productivity: How long from hire date until the employee is fully productive? Measure this as a combination of how quickly they could access all necessary tools and manager feedback on readiness. Before automation, this might be 2-3 days. After, aim for same-day or next-day.
IT support ticket volume related to onboarding: In the first 30 days, how many tickets does a new hire open? Track “missing access,” “can’t log in,” “tool not working,” etc. Automation should reduce this by at least 50%.
Account provisioning time: How long from hire date to “all accounts created and configured”? Measure this in hours or minutes (automated provisioning should be under 30 minutes). Compare to manual process (probably 4-8 hours spread across multiple days).
Error rate and rework: How often do you need to go back and fix something that was misconfigured during onboarding? This should be nearly zero with automation.
Compliance completion rate: What percentage of new hires complete required security training and compliance steps within 30 days? Automated assignment and tracking improves this from 60-70% to 95%+.
Cost per onboarding: Sum IT labor hours, device costs, any third-party services, and divide by number of hires. A rough estimate: unautomated onboarding costs $500-1,000 per person in IT labor. Automated onboarding reduces this to $50-150.
Track these metrics before you implement automation, set targets for after automation, and measure actual results at 3, 6, and 12 months. You’ll use these numbers to justify continued investment and to identify bottlenecks that automation didn’t catch.
Practical Implementation Roadmap
Don’t try to automate everything at once. You’ll fail and create chaos. Pick a sequence that builds momentum.
Phase 1 (Month 1-2): HRIS integration and email provisioning. Get your HRIS connected to your identity provider. Automate email account creation. This is the foundation everything else builds on.
Phase 2 (Month 2-4): SSO and cloud app provisioning for your 3-4 core tools. Identity is now automated. Add Slack, GitHub, or whatever your teams use daily. This typically reduces support tickets significantly.
Phase 3 (Month 4-6): Zero-touch device deployment. This is technical and requires coordination with device vendors, but the payoff is huge. First-time setup of device management platforms can take a couple months to get right.
Phase 4 (Month 6+): Expand cloud app provisioning to all tools, automate security training assignment, integrate offboarding workflows.
Each phase should be small enough to implement without disrupting operations. Test thoroughly in a pilot group before rolling out to all new hires. When you transition to a new automated workflow, you’re essentially changing how your company onboards people. Get it right, and you create operational efficiency. Get it wrong, and you create chaos for new employees.
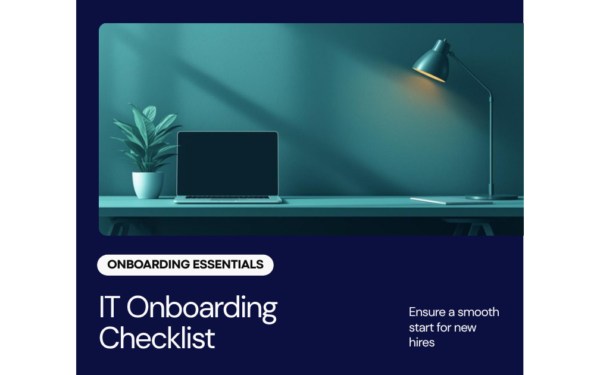
IT Onboarding Checklist for Remote Employees
HR Technology Stack for Remote Teams
What Is People Operations?
Common Automation Pitfalls and How to Avoid Them
Automation is powerful, but it creates new problems if not implemented carefully.
Automation without governance: You automate account creation, but nobody owns validation. Accounts get created with wrong permissions or wrong configuration. Add a validation step after provisioning. Have someone review the first 5-10 automated onboardings before declaring it “done.”
Over-automation: You try to automate everything, including things that have legitimate exceptions. Employee gets added to the wrong group automatically and has to contact IT to fix it. Leave room for manual override and documented exception processes.
Vendor lock-in: You build workflows deeply integrated with one platform (Okta, Azure AD, etc.). If you later switch, all your automation breaks. Design integrations to be platform-agnostic where possible. Use standard APIs and avoid proprietary workflow languages.
Lack of documentation: You automate the workflow, but don’t document it. A year later, someone needs to change something and nobody knows how it works. Document the workflow, the business logic, and the decision points. Include a diagram.
Failing to account for edge cases: Someone gets hired on a weekend. Someone’s start date gets pushed back. Someone transfers from one department to another mid-week. Your automation works for the happy path but breaks on exceptions. Build error handling and manual override mechanisms into the workflow.
Most of these are solved by starting small, testing thoroughly, and iterating. Don’t launch an automation initiative and hand it off. Build it, validate it, support it during the first 3 months of production, then iterate based on what breaks.
Frequently Asked Questions
Do I need a dedicated engineer to set up automated onboarding?
Depends on your infrastructure. If you use modern platforms like Okta or Azure AD, their built-in provisioning features might be sufficient, and you don’t need custom code. If your stack is older or custom, you might need 80-120 hours of engineering time. A consultant can help estimate your situation.
What if our HRIS doesn’t have a connector to our identity provider?
Most modern HRIS platforms have connectors to major identity providers. If yours doesn’t, you can build a lightweight integration using the HRIS API. Alternatively, use an iPaaS platform like Zapier or Make as middleware. The setup takes a few hours and costs $500-2,000 depending on complexity.
Can we start automating onboarding without first fixing our device deployment process?
Yes. Start with account and identity provisioning. Device deployment is the hardest piece and requires coordination with vendors. Get account automation solid first, then tackle devices. They’re independent workflows that can be implemented separately.
What happens when automated onboarding creates an account wrong?
Build error handling into your workflow. If account creation fails, the workflow logs the error and sends a notification to someone on the IT team. Have an SLA for manual remediation (usually 1-2 hours). For mistakes (wrong permissions, wrong department), catch them during the validation step before the employee’s first day. Use the first 30 days to identify gaps and iterate on your automation.